Word will automatically populate a table of contents for any file. Here’s the easiest method:
- Make sure each heading is assigned a Heading Style from the Styles gallery (easiest found on the Home ribbon).
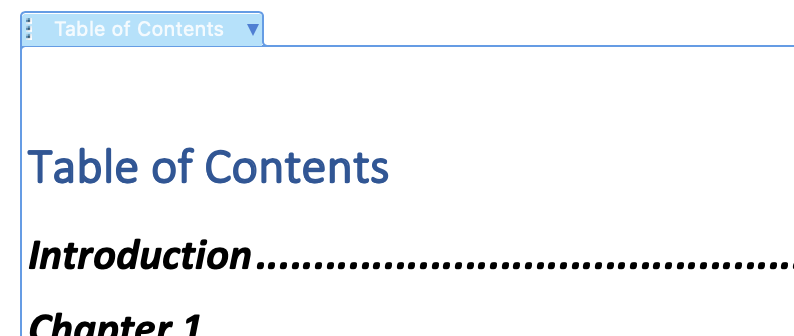
- Place the cursor where you’d like the table of contents to appear.
- From the References ribbon, click the Table of Contents button at the far left. Select the preferred look (see next figure).

Troubleshooting

Changes made to the headings within the document will not be reflected in the table of contents until it is updated. Same goes for pagination; if revising content changes pagination, update the table of contents to update the page numbers in the ToC. Right-click anywhere in the table of contents (or the down arrow at the right of the blue field header) and select Update Table… from the context menu that opens.
Use arrow keys to navigate through the table of contents in order to manually make changes to it, since clicking on the table will navigate to the related page. (Not the best method but sometimes required.)
If using custom heading styles, be sure to set their hierarchy so they will appear in the automated table of contents.
Got a gnarly Word problem? Submit your problem and we’ll try to answer it in the Q&A thread.


Learn with us! Join a course today.

© This blog and all materials in it are copyright Adrienne Montgomerie on the date of publication. All rights reserved. No portion may be stored or distributed without express written permission. Asking is easy!