QJust a few chapters in this book I’m editing have used a 1)a)i) structure for nested lists. Is there an easier way to make them match the other •o– lists without restyling them line by line?!
AYes! It involves the multilevel list button on the Home ribbon and (at best) Styles for each level in the list.
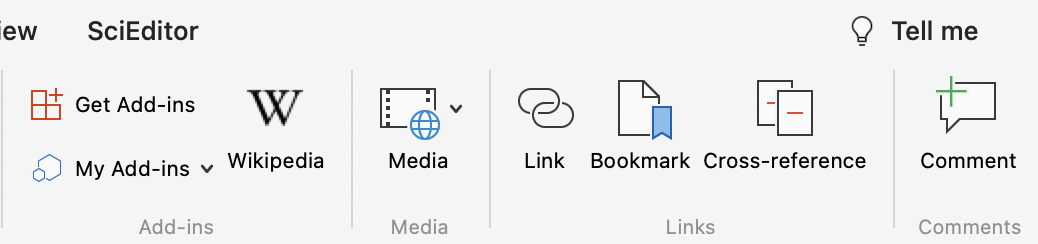
The Tables group (item?) on the Insert ribbon is where to both insert a table and where to turn tabbed content into a table without the need to retype or drag and drop.
New pasting shortcuts have been rolled out for working with Styles in MS Word 365. So if you’re used to the finger yoga for copying and pasting Styles, or for pasting “text only,” you’re going to have to revise your muscle memory. Gone is cmd + opt + shift + V to paste and match the new style, drop the shift from that sequence! Windows users, see the table below.
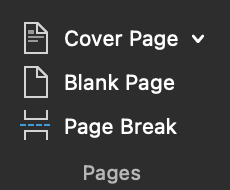
The Pages group* on the Insert ribbon is where to turn to instead of repeatedly hitting enter to start a new page. And it does more! Below you’ll find a roundup of posts explaining the best practices for using breaks specifically in an editorial production workflow. These posts build on top of the explanations and guides found in the multimedia guide to Editing In Word 365.
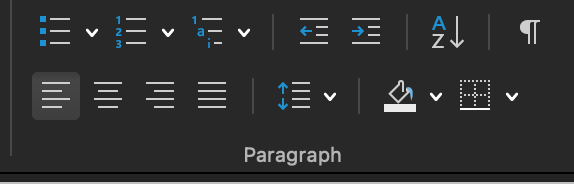
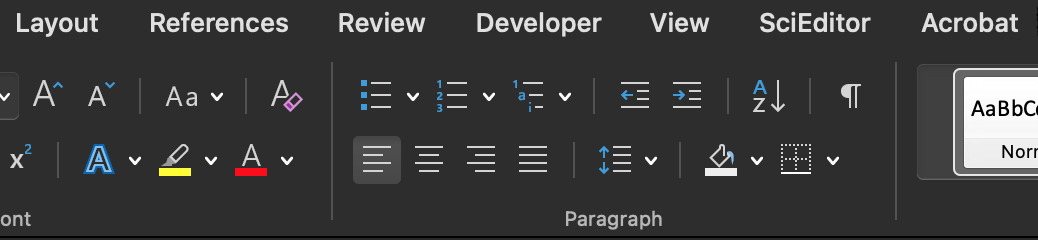
Rounding up posts on the third grouping on the Home ribbon includes one of the most powerful tools: the pilcrow button. Below you’ll find a roundup of posts relating to this grouping in Word’s ribbon, explaining the best practices of using those tools specifically in an editorial production workflow. These posts build on top of the explanations and guides found in the multimedia guide to Editing In Word 365.
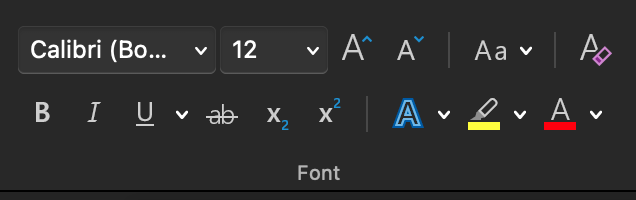
Moving to the second grouping on the Home ribbon, we continue our roundup of posts relating to each part of Word’s ribbons, explaining the best practices of using them specifically in an editorial production workflow. These posts build on top of the explanations and guides found in the multimedia guide to Editing In Word 365.
Here we begin our roundup of posts relating to each part of Word’s ribbons, explaining the best practices of using them in specifically in an editorial production workflow. These posts build on top of the explanations and guides found in the multimedia guide to Editing in Word 365.
Word’s latest unecessary change is to make what’s it’s calling “cards” for every tracked change. They’re just a version of the pop-ups we used to have but with added memory-sucking action.
Whether it’s your own writing, the nth look-through, or you’re doing all of the editing stages on a file, there comes a time when your eyes just can’t see what’s actually on the page anymore. Your brain compensates and autocorrects; that is NOT what we’re hoping for! Refresh your eyes and see what’s actually on the page by using these “brain hacks” that “special education” teachers shared with me. The audio below explains how and why these hacks work:
To learn more about using wildcards, check out Section 10.2 of Editing in Word 365.
Over on the Right Angels and Polo Bears blog, I’ve been testing the hot new AI out for editing. While it’s true that generative pretrained translators (GPTs) are advancing so fast that my post may be out of date by the time I edit it, the verdict remains that AI isn’t ready to take over copyediting jobs. In this post I find it can’t even write a useful Find & Replace sequence using wildcards. I’m sad about that, because writing those can be a brain twister!