
Word lets you insert a section break, not just a page break. That lets you assign different settings for each section: margins, columns, line numbers, heading numbers, or footer layout, for example.
There are two main types of section break:
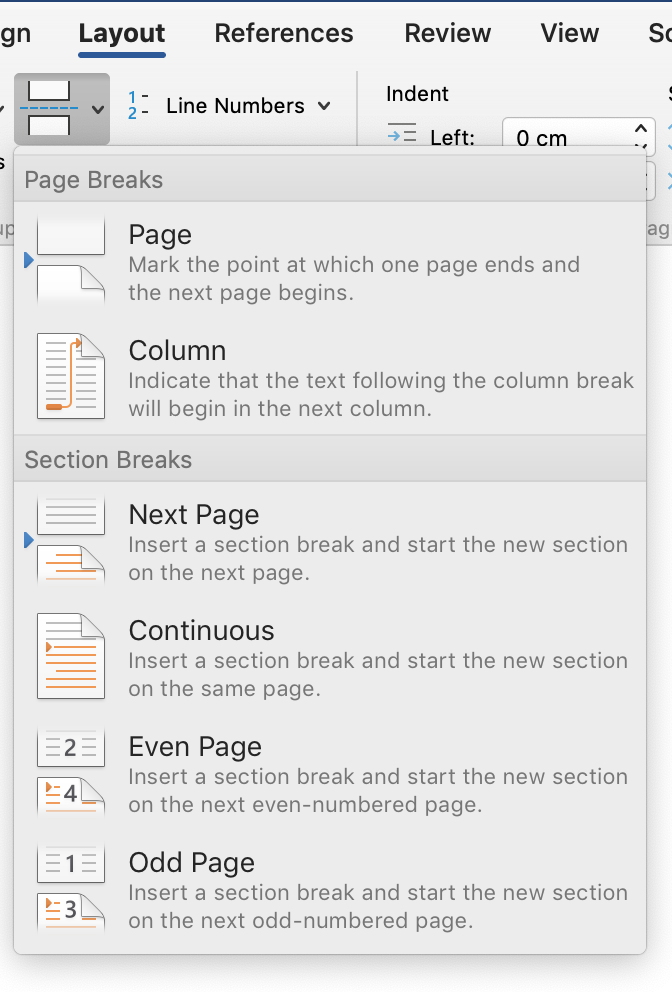
- one break starts a new page (next, next odd, or next even numbered page)
- the other starts a new section on the existing page (continuous).
Uses for Section Breaks
Section breaks can be used to change page numbering — from Roman to Arabic, for example — or to make sure there’s no page number on the first page of a chapter.
Section breaks can be used to restart automatic numbering for each new chapter, so that numbering starts at 1 for figures, tables, footnotes, and/or headings.
Section breaks are inserted automatically around blocks of text formatted with a margin or page orientation that is different from the rest of the document, and around a table of contents.
Uses for Odd Page Section Breaks
Since layout conventions have chapters start at the top of an odd numbered page (the right-hand page), inserting an Odd Page section break might be the most useful option, though it is seldom used.
By inserting the Odd Page section break, you can guarantee that the content following the break will start at the top of a right-hand page (in Word or in the printed/PDF output), no matter what content before it gets moved, added, or trashed. No need to insert blank pages. And typesetters and designers can use these breaks to automatically set layout via macros that read the code.
Uses for Continuous Section Breaks
The Continuous section break does not force the start of a new page. We see this type of break most often right before a column layout begins, and where columns end. It also appears before and after a table of contents.

Troubleshooting
To delete a section break, click on it and press the delete key. The settings for each section are contained in the break at the end of it. So, when a section break is deleted, everything in the previous section will take on the characteristics of the section following it.
Break marks are only visible when non-printing characters are revealed. Click the pilcrow icon (¶) on the Home ribbon to show non-printing characters.
Sometimes in Print Layout view, section breaks get obscured at the bottom of the page or at the end of a column. Switch to Draft view to reveal these breaks.


Photo by Sergey G. gkhaus via Pixabay.