Section breaks are created around columns and tables of contents automatically, and they can be inserted to control any layout aspect of a certain segment of text. Section breaks can be deleted, but what if you just want to change the section. On a Mac, you can.
To change the type of a section after inserting a break:
- Place the cursor in the desired section.
- On the Format menu, select Document.
- Select the Layout tab in the Document properties dialogue box that opens.
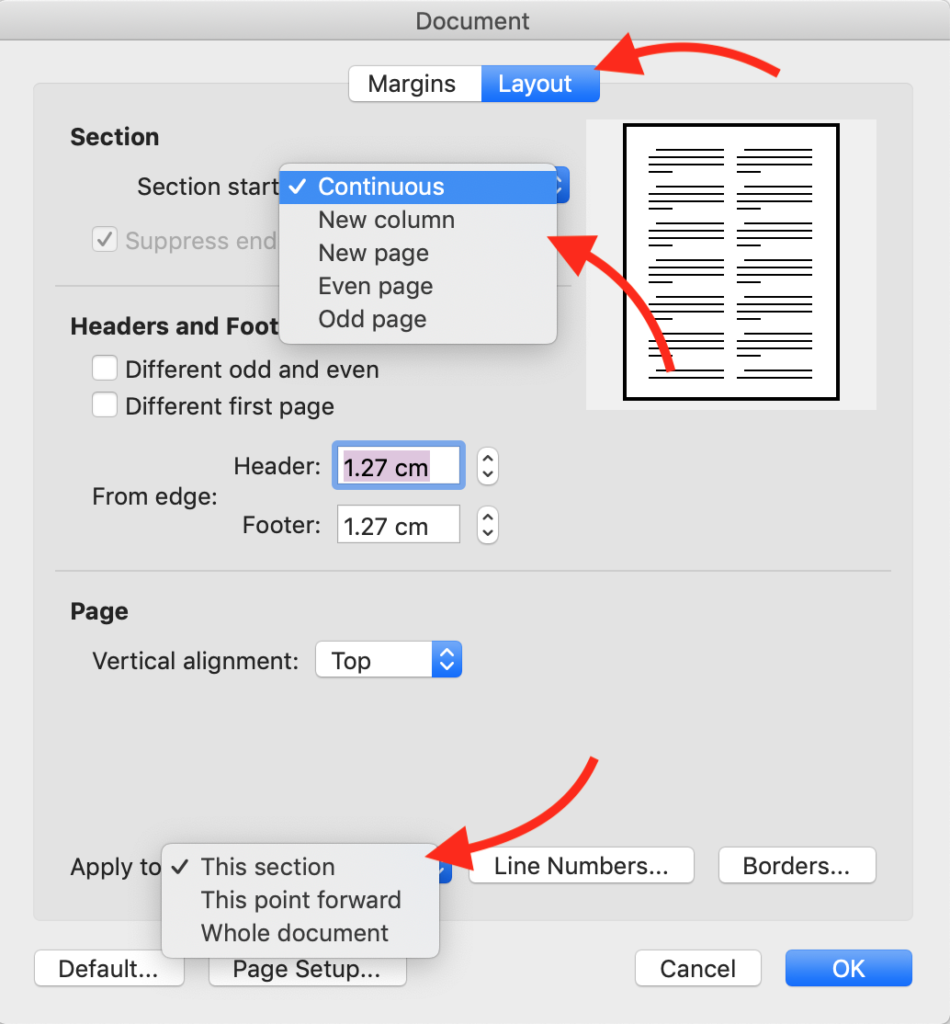
- At the top, in the Section area, choose an option from the drop-down list beside Section start:
- At the bottom, choose an option from the drop-down list beside Apply to. The type of section can be applied to the section the cursor is currently in, to all sections following the cursor’s location, or to the whole document.
- Click OK.
Troubleshooting
Break marks are only visible when non-printing characters are revealed. Click the pilcrow (reverse P: ¶) icon on the Home ribbon to show non-printing characters.
Sometimes in Print Layout view, section breaks get obscured at the bottom of the page. Switch to Draft view to reveal them.

