There are several easy ways to add or delete columns and rows in tables within MS Word:
- Right-click and select from the context menu.
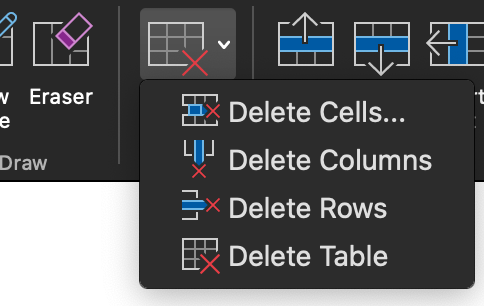
- Select from the icons on the (Table) Layout Ribbon.
- Select the row/column and cut it using ctrl + X (cmd + X on a Mac).
- Select the Eraser icon on the (Table) Layout Ribbon and drag it over the undesired elements.
- And, if all you want to do is add a row: place the cursor outside the end of the row, then press Enter.

Check out the demo video below to see these methods in action.

Check out all the other posts in this series about Working with Tables and learn all about them in the multimedia ebook self-study course!
Got a gnarly Word problem? Submit your problem and we’ll try to answer it in the Q&A thread.


Learn with us! Join a course today.

© This blog and all materials in it are copyright Adrienne Montgomerie on the date of publication. All rights reserved. No portion may be stored or distributed without express written permission. Asking is easy!