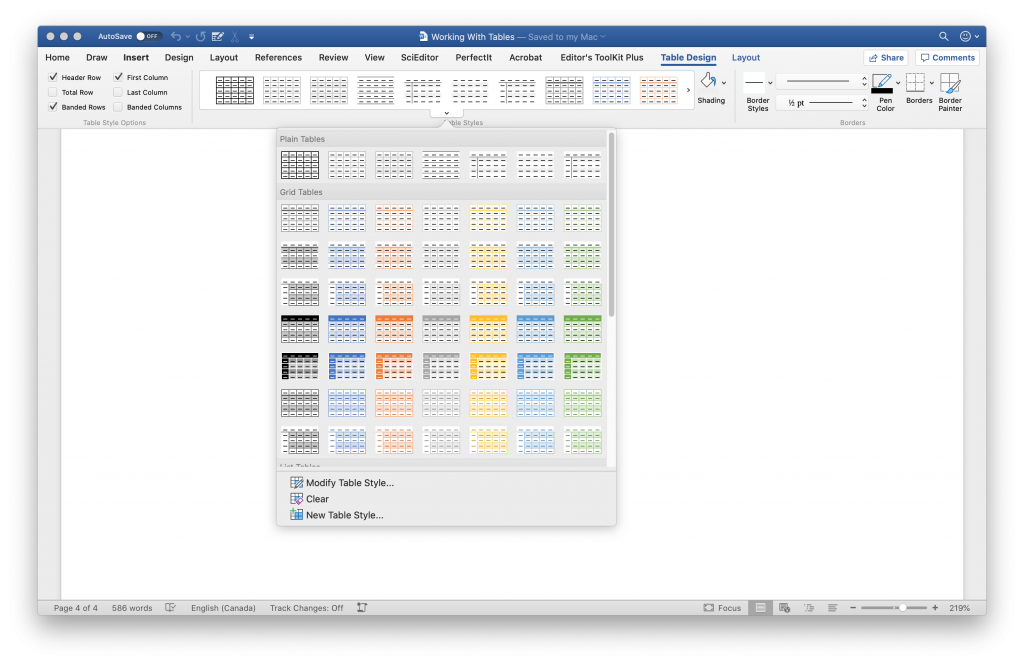
Place the cursor within a table in Word and a Table Design ribbon will appear (shown below). In the middle of that ribbon, you can choose from dozens of looks for the table. Most publishing workflows ask for simple tables with minimal “design” to them. Most style guides prefer the least possible formatting, barely even borders or “rules”. So we’ll focus on working within those parameters.

If, instead, Word is the design tool (common for internal office reports and proposals, for example), start by selecting one of the options on that ribbon that fits the design specs; most likely, pick an option that from the design “theme” of the product. After that, the rest of this post applies to you, too.
Use Styles for Contents
The problem with changing the font and alignment of table contents is that if the cell contents are still set to Normal style, you’ll lose all that manual finessing the second any change is made to Normal (such as changing the alignment or first line indent) or if Normal style is “reapplied” somewhere in the document. It’s better to set table contents in their own style. So, select the whole table and create a new style for Table body, Table heads/stubs, and any other style it needs to use.
Then, you can set attributes for the table contents such as a smaller hanging indent for bullets or smaller font size by modifying each of those Styles.

Set the Borders
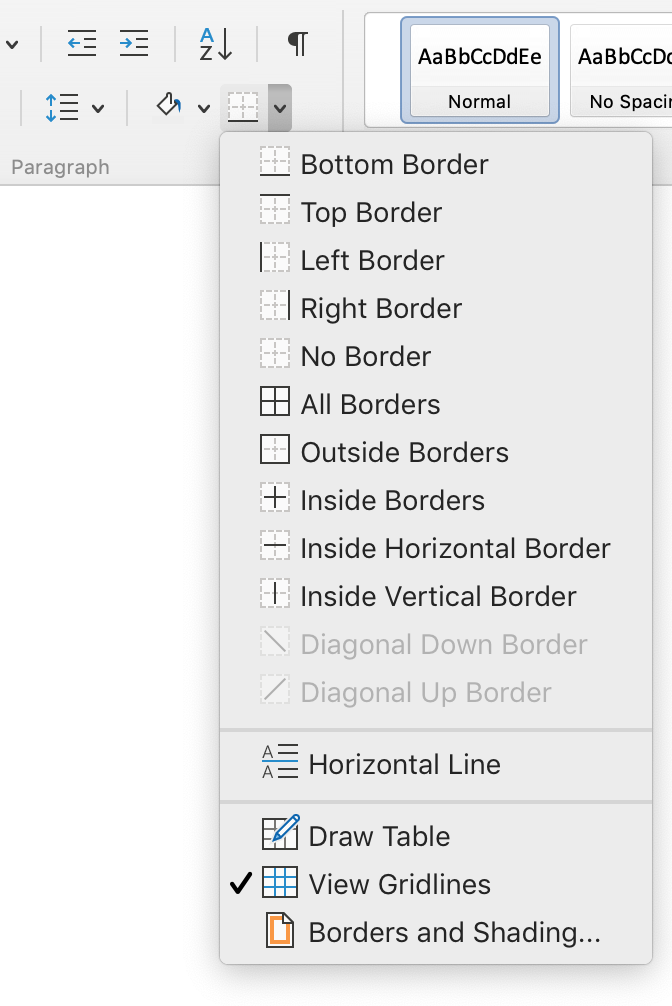
On the Table Design ribbon, click the Borders icon at the right edge and apply borders (rules) to the rows and columns according to your document’s requirements. Pay attention to which cell the cursor is in, as borders are applied to that cell only. To apply borders to a whole column or row, select it first.

To Indent Cell Contents
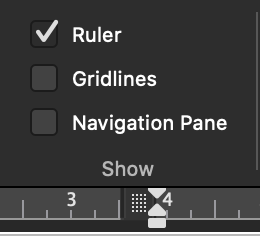
To manually indent table contents or insert a tab space within a table cell, hitting the tab key doesn’t work. That just jumps the cursor to the next table cell! To indent contents of a cell, either move the slider on the ruler or hold down the option key, then hit the tab key. (Windows users should hold the alt key then press tab.)
Set Alignment of Contents
Left, right, or centre alignment of table contents can be set from the Home ribbon, as with any other content. It’s also possible to set margins, an indent, a hanging indent, and more on the ruler. Just drag the related element (discussed in a coming post).
To align numbers, it’s most useful to use the “align on decimal” option on the ruler.

Check out all the other posts in this series about Working with Tables and learn all about them in the multimedia ebook self-study course!
In the coming Word Wrangling Wednesday posts, we’ll talk about tidying up cell border alignments, creating spanning heads, and the like.
Got a gnarly Word problem? Submit your problem and we’ll try to answer it in the Q&A thread.


Learn with us! Join a course today.
© This blog and all materials in it are copyright Adrienne Montgomerie on the date of publication. All rights reserved. No portion may be stored or distributed without express written permission. Asking is easy!