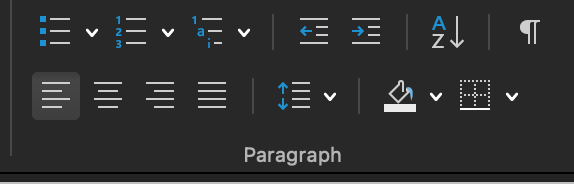
Rounding up posts on the third grouping on the Home ribbon includes one of the most powerful tools: the pilcrow button. Below you’ll find a roundup of posts relating to this grouping in Word’s ribbon, explaining the best practices of using those tools specifically in an editorial production workflow. These posts build on top of the explanations and guides found in the multimedia guide to Editing In Word 365.
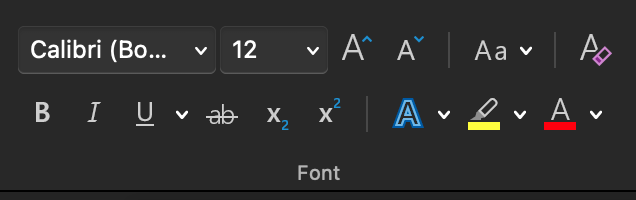
Moving to the second grouping on the Home ribbon, we continue our roundup of posts relating to each part of Word’s ribbons, explaining the best practices of using them specifically in an editorial production workflow. These posts build on top of the explanations and guides found in the multimedia guide to Editing In Word 365.
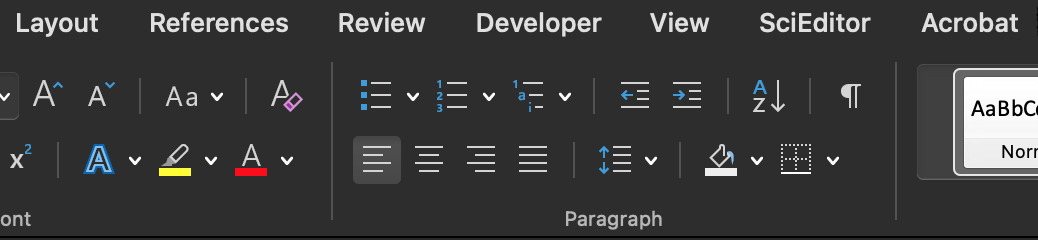
Here we begin our roundup of posts relating to each part of Word’s ribbons, explaining the best practices of using them in specifically in an editorial production workflow. These posts build on top of the explanations and guides found in the multimedia guide to Editing in Word 365.
Word’s latest unecessary change is to make what’s it’s calling “cards” for every tracked change. They’re just a version of the pop-ups we used to have but with added memory-sucking action.
Whether it’s your own writing, the nth look-through, or you’re doing all of the editing stages on a file, there comes a time when your eyes just can’t see what’s actually on the page anymore. Your brain compensates and autocorrects; that is NOT what we’re hoping for! Refresh your eyes and see what’s actually on the page by using these “brain hacks” that “special education” teachers shared with me. The audio below explains how and why these hacks work:
I spent years, stumbling onto functions and tools in Word, then searching for hours to find out how to use them; skipping through long videos to find the 2 minutes that answered my question; wrapping my head around how what they said might apply to the publishing tasks and workflow.
There is an easier way!
That’s why I wrote Editing in Word. It might look like a book, but it’s really a self-study multimedia course tailored precisely to how editors can use Word to make it less painful and make their editing more effective and efficient.
And now there are two courses for editors with open start times. Learn what you want, when you need it, on your schedule and at your own pace:
These materials cut right to the chase, and show how these tools are used in the editing workflow for best practices in a publishing environment.
You don’t need Word 365 to follow these materials. There’s little variety across the versions of Word.
Both Mac and Windows instructions are provided in the lessons and in the video demos.
QI find it hard to look at tracked changes; can editors use another method?
AIt’s an interesting question, and one that gives me feels, it seems. TL;DR — No! Don’t make other professionals put up with awkward kludges to assuage some initial discomfort. You get used to it, and let me share some better ways to ease the pain.
Did you work in the wee hours? Did you scramble to finish right before deadline? Do your tracked changes and comments reveal more than you feel is professional about your work habits? If clients can’t let this go or it’s bothering you too much, try this tiny macro that Samantha Pico commissioned that will go into the background coding and remove the time stamps, and only the time stamps from all tracked changes, leaving your beautifully branded user tag in place.